Cleaning Up After Those Messy Tenants

Some tenants are great. They don’t just pay the rent on time, but they also keep your rental property nice and tidy. They like to have nice surroundings and to live in a clean house, even if they don’t own it. They don’t try spray-painting slogans on the walls. When the time comes for them to move to a new place, they will (a) tidy the place properly, either by doing it themselves or by hiring an end of tenancy cleaning company; and (b) break your heart because finding others like them will be hard. They will have touched the garden with a few cheap and cheerful annuals if you’re lucky.

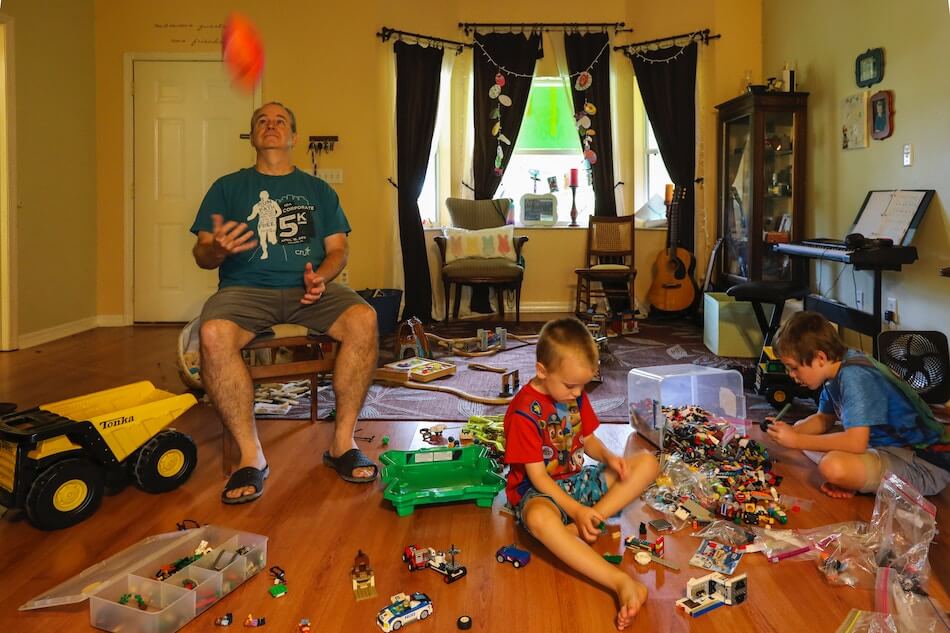
Other tenants… aren’t like this. They’re messy. And I don’t just mean that they are a bit slack about dusting and cobwebs and leave piles of washing unsorted on the sofa and a stack of unwashed dishes on the sink. I’m talking about the really messy ones. The ones who let the rubbish bins overflow onto the floor don’t mind mould growing in the bathroom and don’t seem to realise that for a place to stay fit to live in, you need to clean up the vomit and wee after a particularly hard night on the sauce. They seem to have the mentality that, as they don’t own it, they don’t have to look after it. (No, I don’t get this sort of thinking either.) These are tenants that you’re only too glad to see the back of when they leave – or when you finally get grounds to boot them out of the rental. Honestly, you might be left with the clean-up after this type of tenant, but this may seem like a relief. At least dirt cleans up eventually, and they didn’t burn the carpet or punch holes in the walls – oh, wait; they did.

Ouch. It’s not nice and really not what you hoped for when you got into the rental property game. If it’s happened to you once, you don’t want to have it happen again, and you’re left looking at the mess and wondering what to do about it. What right do you have as a landlord? Can you insist that your tenants keep the place clean? When they leave, can you ask them to get the place cleaned by a reputable end of lease cleaning service? Can you use the deposit money to pay for a professional cleaning company?

After checking out a few little legal matters, I’ve got some bad and good news. In time-honoured tradition, let’s start with the bad news first and get it over and done with.

What Landlords Can’t Demand In Terms Of Cleaning

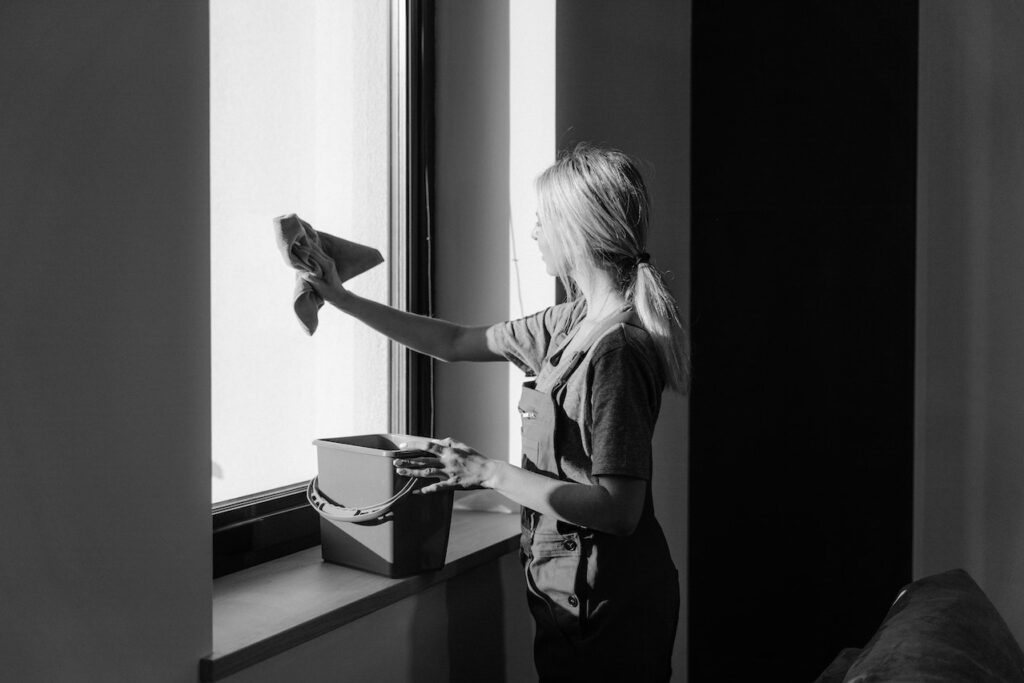
The first piece of bad news is that legally, people are allowed to live how they like, and if they want to live in a mess, they have a legal right to do so. Yes, even if where they live is in the rental property they own. This means that although tenants are responsible for cleaning the rental property while they live in it, they’re not legally bound to do so. In other words, you don’t have to arrange for a domestic cleaning service for the house or come in personally with the vacuum cleaner and the dusters while they’re living in it. They can’t expect you to do this – any cleaning that needs to be done is their job. If they want to live like a bunch of slobs, they can.

But what about property inspections? Can’t you expect them to have the place tidy for those?

Unfortunately, even during routine property inspections, you can’t tell the tenants to mop the floors and wash the windows. Once again, they’ve got a right to live like pigs if they want. However, if any of the mess they are making is likely to cause damage to the house – the food rubbish that’s enticing rats that chew the walls, the mould that’s starting to attack the wood, anything that’s attracting flies and maggots that might start eating into the carpet. You can ask them to deal with that sort of thing. In fact, if you discover that they have done something (or neglected to do something, more likely), meaning that “The property has deteriorated due to neglect by the tenant”, this is grounds for eviction if they don’t do something about it after fair warning (see http://www.legislation.gov.uk/ukpga/1988/50/schedule/2).

The second item of bad news is that you also can’t make it part of the rental contract that your tenants have to call in a professional end of tenancy cleaner to do the final moving out clean. In fact, if this is a condition, you could get fined big time. Yes, you can ask a tenant to leave the property clean and tidy, but you can’t make them get a professional to do it. Although I work as a professional cleaner myself, I can understand this. There are so many grey areas (figuratively but hopefully not literally). After all, your tenant’s brother might be a professional janitor, so when he comes to help with the moving out cleaning, he’ll bring his professional skills, although there won’t be a receipt involved. And some tenants who are exceptionally hard-working and motivated can do a good job of their own cleaning.

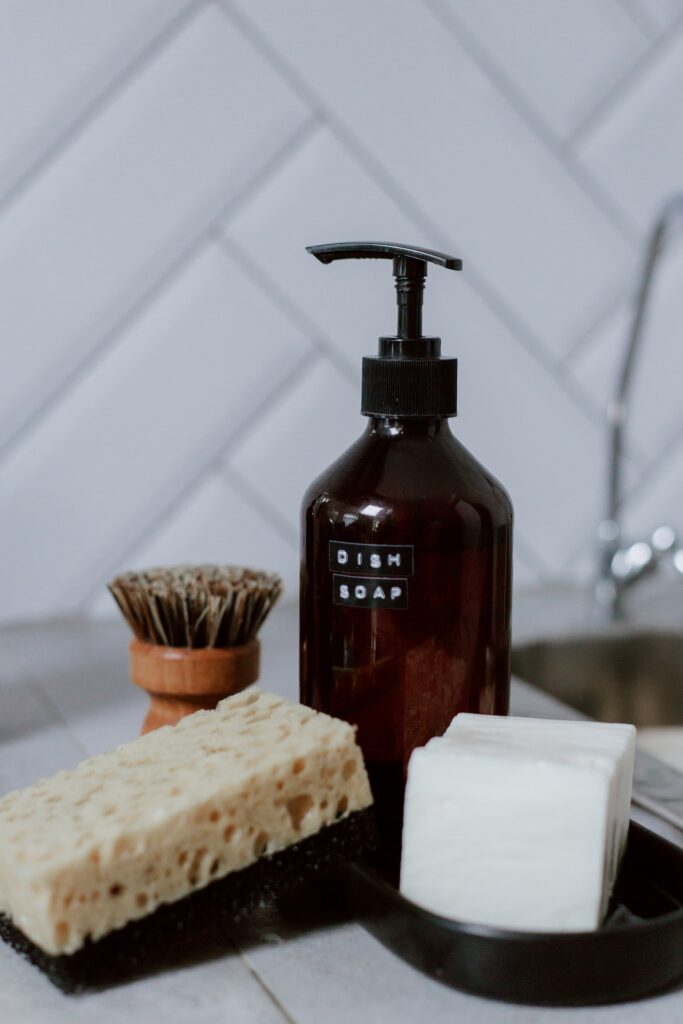
The Good News About End Of Tenancy Cleaning

Now for the good news. You can and should insist that the tenants leave the property clean and tidy. Here, we must note that clean and tidy isn’t the same as “show home perfect” or “just like new”. You can expect that there will be some signs of wear and tear around the place – worn carpets, faded curtains, crumbling grout, and slightly peeling wallpaper – but the place can still be clean despite the signs of age.

The Tenants from Hades

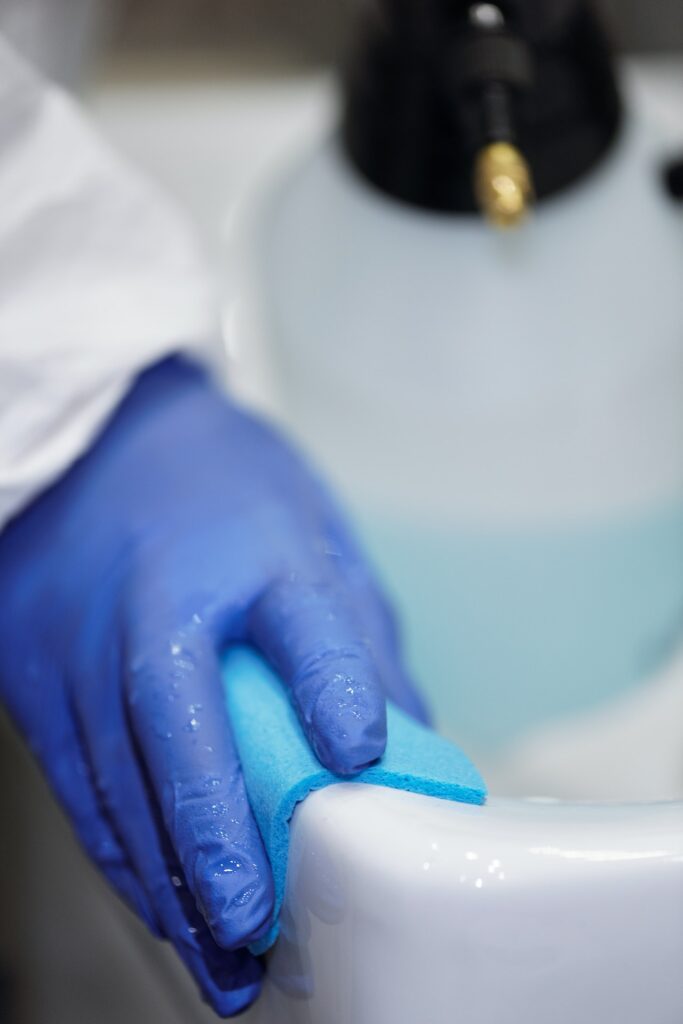
What’s more, if you’ve had the Tenants From Hades who left the place looking unfit for pigs to live in, let alone humans, then you are fully entitled to use some or even all of the deposit money to hire a team of professional cleaners to take care of the tidy-up for you. In fact, in the case of really bad tenants – the sort with the cat wee in the carpet and the piles of rubbish in the corridor that have stained the walls – you probably should get a professional to do it. It can be too infuriating and heartbreaking to do the cleaning yourself. It’s also very difficult to get this sort of mess up to a proper standard of hygiene and cleanliness. However, a professional end of tenancy cleaning team can handle this. Trust me, we’ve seen it all before!

Joint Final Inspection

It’s always best to do a final inspection of the property with your soon-to-be-ex tenants so if there’s anything that the tenants have overlooked (easily done!) or that isn’t up to standard, then you can give the tenants a chance to take care of it themselves and get all of their deposit money back rather than you holding onto the deposit money and getting a cleaner to deal with it, sometimes with hard feelings all around. This final inspection also helps overcome issues when you and your tenants have different ideas about what “clean” actually means, as different people have different standards. Tooting my own horn here, but this is one of the advantages of calling in a professional end of tenancy cleaning service – they know exactly what “the standard” is and use a proper checklist, saving both you and your tenants a heap of hassle.

If you do end up keeping some or all of the deposit money to cover the cost of professional cleaning, be fair about it. If it’s just a few things that need dealing with rather than a major clean-up after a bunch of filthy slobs, then only keep back enough of the deposit to cover the cost rather than the whole lot.

Dish Soap As a Universal Cleaner

If you ask some professional cleaners what the most used product in their cleaning box is, we can assume that their answer will be dish soap. This strange answer is due to the flexibility and tenderness of dish soap. It is safe to use on almost any surface and is more environmentally friendly than many common household cleaners.

Dishwashing soap is a surprisingly green cleaning product

One of the many reasons we like to clean with dish soap is that it is a natural, environmentally friendly product. Plate soaps that contain phosphates can be hazardous to the environment. When phosphates enter lakes and streams, they can cause algae blooms, which reduce oxygen levels in the water. Fortunately, most major brands of dish soap eliminate phosphates.

Plate soap does not have strong chemical odours

It is powerful but does not leave a strong chemical odour lingering in homes and offices. One of the biggest special requests we receive from our customers is to use products that do not have a strong smell. Heavy artificial detergent fragrances can cause headaches and breathing problems in humans and pets. When you process fats, many effective degreasers also have strong artificial flavours. That is not the case with most dish soaps, which have a softer aroma while degreasing.

Plate soap is safe to use on many surfaces and very effective at the same time

Dish soap as a multi-purpose cleaner

Plate soap is safe on many surfaces: granite, marble, sealed wood, ceramics and more. Most soft dish soaps have a pH of 7 or 8, which is more or less neutral. Most other cleaners, such as glass and all-purpose cleaners, are acidic or alkaline, making them riskier to use on easily damaged surfaces such as marble that are susceptible to staining and etching.

Although dish soap is gentle, it is also a highly effective detergent. One of the first steps some people train to take when cleaning a kitchen or bathroom is to make a bucket of soapy water. They turn to this universal tool throughout the cleaning process. The dish soap dissolves edible grease, making it a natural choice for cleaning kitchen surfaces – strong enough to remove stubborn grease from stovetops and microwave ovens while remaining safe for granite or marble countertops and appliances facades and stainless steel. Plate soap is also incredibly useful in the bathroom. We use it to deal with soap scum in bathtubs and showers, wash porcelain sinks, wipe countertops and scrub tile and linoleum floors.

Seven practical uses of dish soap in your home

As well as being a great cleaning product for everyday cleaning needs, dish soap can be beneficial for other tasks (and even for fun with children). We’ve compiled a list of seven of our favourite unusual uses for dish soap.

  1. Clean the jewellery. Dip or two of dish soap into the water is an effective cleaning solution for shining dirty jewellery. Just put your jewellery in the solution for five minutes and then remove it (you can use a clean toothbrush to clean dirty jewellery gently).
  2. Remove oil stains from concrete floors. Plate soap is also effective for removing oil stains from concrete floors in the garage or drive path. Just put over the stain layer of baking soda and then soap. After leaving it for a few hours, rub the area with a stiff bristle brush.
  3. Keep bugs away from your plants. Make a highly effective plant spray for indoor and outdoor plants with dish soap. Mix 1 cup of saffron or sunflower oil (it helps the spray stick to the plant’s leaves) with 1 cup water and two tablespoons of dish soap in a spray bottle. Tip: test the finished spray on a small part of the plant to ensure it is not harmful. In general, dishwashing spray is safe to use on most plants.
  4. Remove oil and grease from delicate tissues. Remove oil and grease stains from soft woollen and silk fabrics with hot water and soap. Add one tablespoon of soap to hot water. Immerse the garment and carefully rub the stain.
  5. Indispensable when camping. Carry a small bottle on camping trips for all your cleaning needs! Plate soap is so gentle that it is safe to use as a substitute for shampoo and body wash in times of need.
  6. Make bubbles. Need a break from cleaning? Make superbubbles! That is a great activity to play with children. Pour 1 cup of dish soap into 6 cups (preferably distilled) of water. Stir gently to avoid bubbles. Then add a cup of corn syrup and stir again. Put a lid on and let the solution stand overnight (this helps make the bubbles stronger).
  7. Remove the stickers without leaving a sticky residue. Use dish soap to remove stickers and sticker residue. Cover the sticker with soap and let it stand for five minutes. The sticker should slide off immediately, although you can also use a cleaning brush and hot water for more stubborn stickers.

Dishwashing soap is very gentle and soft on the skin, super degreasing, does not dry your hands, as it is hydrating, and as you already understand, you can use it for plates, cups and cutlery, and body wash.

How To Disinfect a Home

Personal hygiene and social distancing undoubtedly help to control viral epidemics. But it is not our only trump card against microbes – good hygiene and regular disinfection at home guarantee the health of its inhabitants.  

I will gather in one place the best tips and tactics for basic home cleaning and effective disinfection to stop the spread of viruses, germs and other bacteria. 

Cleaning and disinfection of the house 

Anti-bacterial window treatment

Many people do not distinguish between cleaning and disinfection. Cleaning removes germs or dirt from the surface, but this does not kill pathogens. It more often wipes them but still reduces the spread of infection. On the other hand, disinfection uses chemicals to kill germs on surfaces. Here’s a look at what the differences are: 

Cleaning: Vacuuming carpets, washing floors, wiping countertops and tables, dusting, etc. 

Disinfection: We use disinfectants on surfaces with frequent direct contact, such as door handles, windows, cabinets, light switches, remotes, toilets, desks, chairs, sinks and countertops, etc. 

What can you use for home disinfection? 

Unfortunately, environmental products are not as effective as “household chemicals” when we talk about the destruction of pathogens of dangerous viruses. The most effective natural way to disinfect is to clean with a steam cleaner, but only some have one. However, you can use the following products: 

  • Detergents that contain bleach 
  • Solutions containing ethanol alcohol  
  • A solution of hot water and lots of soap also works if you have nothing else. 

Disinfection with home-made detergents

You can easily make a home disinfectant with vinegar, water and essential oils. Vinegar and essential oil have excellent antibacterial properties. Mix the ingredients. The vinegar should be one part, and the water – three parts. Add three or four drops of your favourite essential oil and shake. It is best to use a spray to treat all surfaces at home. 

Disinfection with essential oils and salt lamps 

Essential oils are also a good disinfectant, so if you have such a device, its regular use will reduce the likelihood of getting sick. The same principle applies to unique salt lamps, whose salt crystals form ions in the air, destroying viruses and bacteria. The disadvantage of this disinfection method is that it works well only in smaller rooms. To disinfect a larger space, you must put in more than one salt lamp. 

Disinfection with alcohol 

Alcohol is suitable for treating smaller surfaces, toys, accessories and similar things. Pass them with an alcohol swab soaked in alcohol, and you will destroy all viruses. It is good to disinfect door handles and other more risky places periodically because all family members use them constantly. 

Practical advice 

Depending on the different disinfectants you use, the safety requirements are additional. Above all, it is good to take care of eye and hand protection (gloves and goggles) because many aggressive products can adversely affect the skin and mucous membranes of the eyes. 

Also, children and animals should not be there while treating individual rooms. It is best to start with all corners, horizontal or vertical surfaces and finish with the floor. Remember, the home textiles you must wash or treat in another way. Small accessories – personal accessories, toys, decorative items, spray or wash with soap and water. 

Other ways to keep germs away from home 

Powerful domestic disinfectants

Check out the tips below – they, along with the use of disinfectants and good personal hygiene, are your best antiviral tactics. 

  • Leave “dirty” things by the door. Minimise the entry of pathogens into your home. Please take off your shoes and keep them in the hallway or garage. Although the transmission of the virus through shoes is not standard, they can carry other nasty bacteria, germs and dirt in the home. Remember that purses, bags, backpacks or other outdoor items may have been in contact with a contaminated area or touched with dirty hands. Therefore, it is good that they remain in the hallway – do not place them on kitchen countertops, dining tables, or near recreation areas – coffee tables, sofas, or beds. 
  • Disinfection of small items that we often hold in our hands. It is not enough to wash the door handle and hands if we use a mobile phone outside with us. Clean the device with an alcohol-based detergent. Even pure alcohol works. Disinfect keys and locks daily. 
  • Change your clothes. If you’ve been outside, no matter what you’ve done, change into clean home clothes. Put the clothes you go out to wash, or at least take them out on the terrace or in the yard in direct sunlight for a few hours. You may not always wash outerwear every day, but ultraviolet rays will deal with germs. 
  • Leave hand sanitiser near the door. In addition to frequently cleaning the front door handle, it is good not to touch it with dirty hands. Leaving a bottle of disinfectant and using it every time you enter will significantly reduce the germs you miss in your home. However, using a product containing at least 60% alcohol is essential. 
  • Disinfection at the workplace. Even if you do not go to the office but work from home, we must not forget that the keyboard and mouse are one of the most extensive breeding grounds for microbes, viruses and bacteria. So clean your workplace often. 
  • Use antibacterial cycles on the washing machine, dryer and dishwasher. Many newer models have this option, which uses hotter than usual temperatures to reduce bacteria. 

These are the essential tips to slam the door under the nose of epidemics. We hope you find it helpful, and we will be happy to share more methods for cleaning your home and disinfecting against viruses. 

It is good to treat the premises with special disinfectants every three months so that you can rest assured that you will not allow pathogenic bacteria, viruses or fungi in your home. 

Deep Cleaning Your Oven – When Emergency Calls

There’s burnt sugar inside your oven!!! Don’t worry, read these simple steps.

Burnt sugar is a nightmare to clean – it’s famous for being impossible to remove from any kind of surface. That includes the inside of an oven. There are, however, ways to clean it – it’s not impossible.

DIY Deep Cleaning Oven at Home

You will need some ammonia, a glass dish, some eye protection, a plastic ice windshield scraper, a heavy-duty scouring pad, a pair of rubber gloves, some paper towels, and some Easy-Off Oven Cleaner.

  1. Turn the oven off and make sure it’s completely cool before you start cleaning.
  2. Before you do anything, put on the rubber gloves and the eye protection. Pour some ammonia in the glass dish until it’s full to the middle and then put it on the oven rack. Be careful not to spill it. Close the door and take off the gloves and eye protection.
  3. Leave the ammonia dish in there overnight. Don’t use the oven during this time. The ammonia fumes are sure to loosen the sugar, and also all other stains and dirt that there is in the oven.
  4. Before you continue, put on the gloves and the eye protection again.
  5. Open the oven door, take out the dish and dispose of the ammonia in the appropriate way. Keep on your protection gear until all of the ammonia is gone.
  6. Without removing the gloves, try to scrape away as much of the sugar and anything else in the oven as you can, using the plastic ice scraper. It won’t damage the oven, as it is plastic. If you need more room to work, remove the metal grates.
  7. Use paper towels to wipe away all of the dirt that you’ve loosened in the previous step. Continue scraping, and wipe again from time to time.
  8. When you’ve removed as much as you can, start removing gunk with the scouring pad. Wipe again periodically with the paper towels.
  9. When you can no longer do anything about the messes, that is, you’ve scraped away as much as possible, spray the insides of the oven with the oven cleaner.
  10. Read the label to know how long you have to let the oven cleaner set.
  11. Still having the rubber gloves on, wipe away the oven cleaner with paper towels.
  12. Rinse the oven with a cloth dampened in clean water.
  13. When you’re done with all, the oven should look new and sparkling.

Be careful when dealing with ammonia, as its fumes are very strong. Don’t breathe in when your head is directly above it, and open some windows. Don’t let it come in direct contact with any part of the body.

If you’re worried that your children or anyone else will try to open or use the oven while the ammonia is inside, tape it shut and put on a sign.